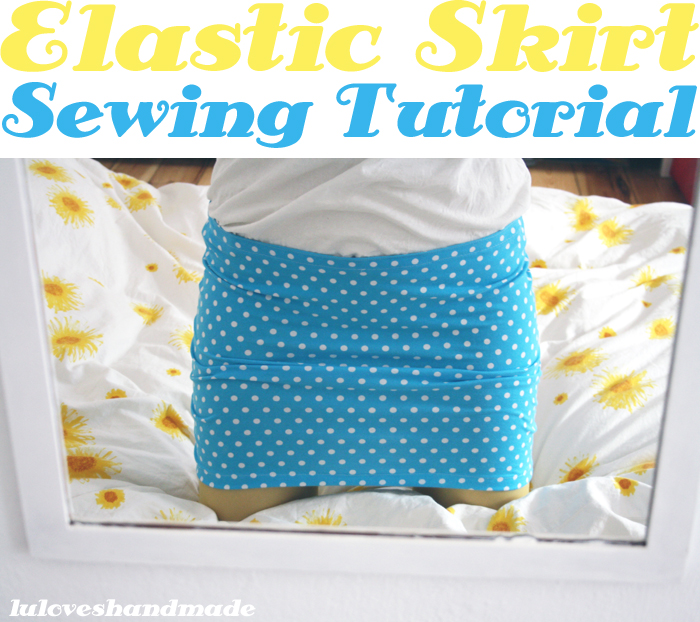
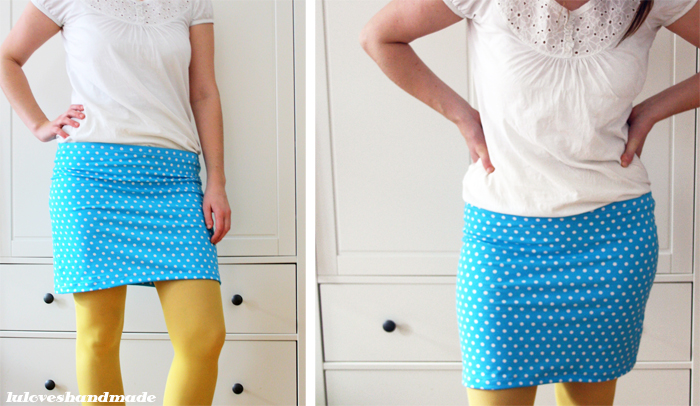
 Hello eveyone! :) My friend Sarah gave me a gift card for Frau Tulpe as a birthday present and I bought fabric for this pretty skirt. :) I made it last weekend and here's the tutorial so that you can make such a skirt yourself. :) I love those simple skirts and I wear them with long shirts, under a dress and with tights and leggings. :)
It's pretty easy and you don't need much, only some elastic fabric which is enough for the size of your skirt, some paper for the pattern, a stretch needle for your sewing machine, the sewing machine itself and conventional sewing supplies.
Here's how it goes:
 1. Take a skirt that perfectly fits you. This will help you to make a sewing pattern.
2. Vertically fold the skirt in half and put it onto some paper. Draw around the skirt for making a pattern. Don't forget to add the seam allowances.
3. + 4. The dashed lines indicate the actual size of the skirt, the normal line is the line of your actual pattern. The line where your skirt's middle fold has been now indicates the center fold of your pattern.
 5. Now fold the fabric and place the pattern onto it. The center fold should be parallel to the selvage. Pin the pattern onto the fabric.
6. Cut out the fabric. Do this two times so that you have a front and a back piece.
7. These are the two pieces you've created from your pattern.
8. Pin the two pieces of fabric onto each other, right sides facing.
 9. You now need a stretch needle for working with elastic fabric. It makes it easier to sew and helps the fabric to stay elastic.
10. + 11. Use a top stitch which is not too narrow and select a really narrow zig zag stitch.
 12. Now sew the left and right sides onto each other. Leave a small seam allowance.
13. It should look like this.
14. Now select a normal zig zag stitch and use it to neaten the edges.
15. It should look like on the photo.
 16. Next, fold down the top edge and pin it.
17. You can now topstitch the top edge.
18. Violà! :)
19. Finally, do the same with the lower edge and that's it! :)
No comments:
Post a Comment